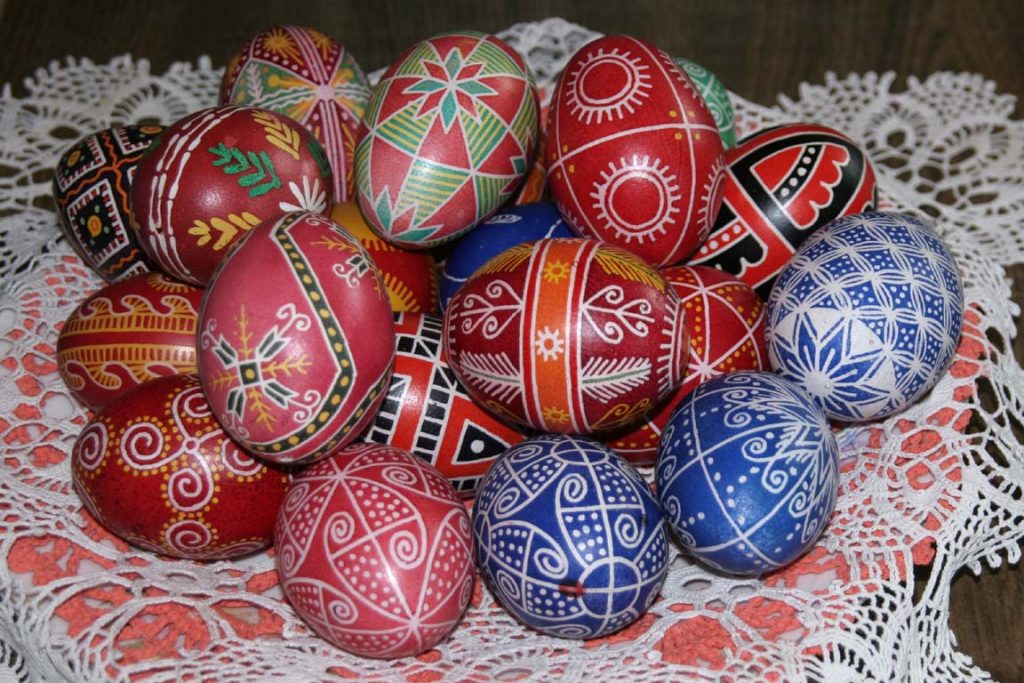
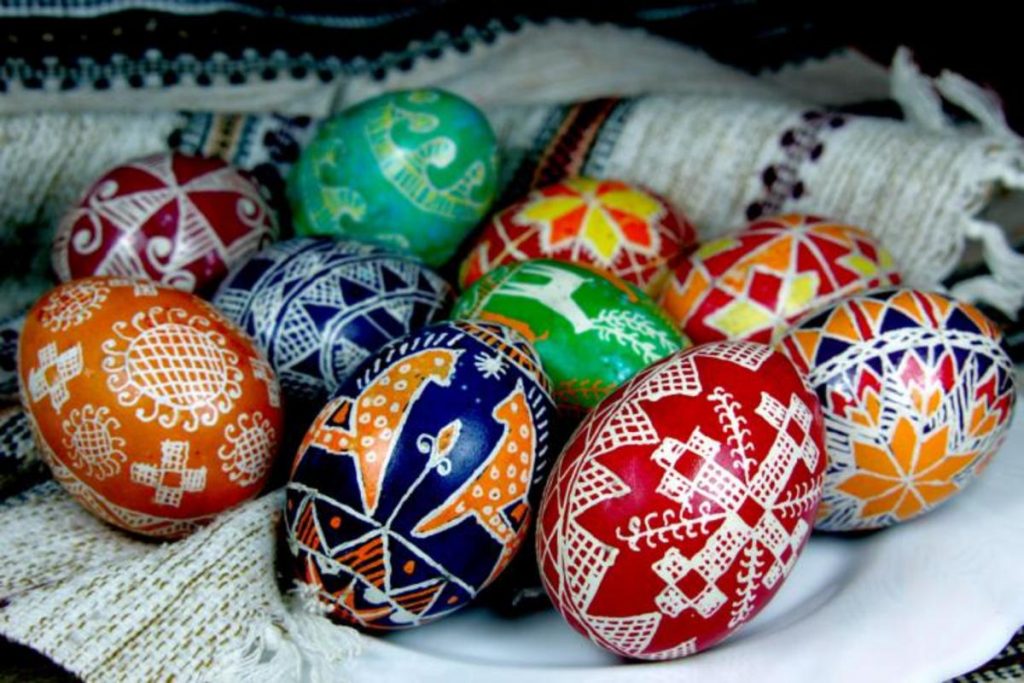
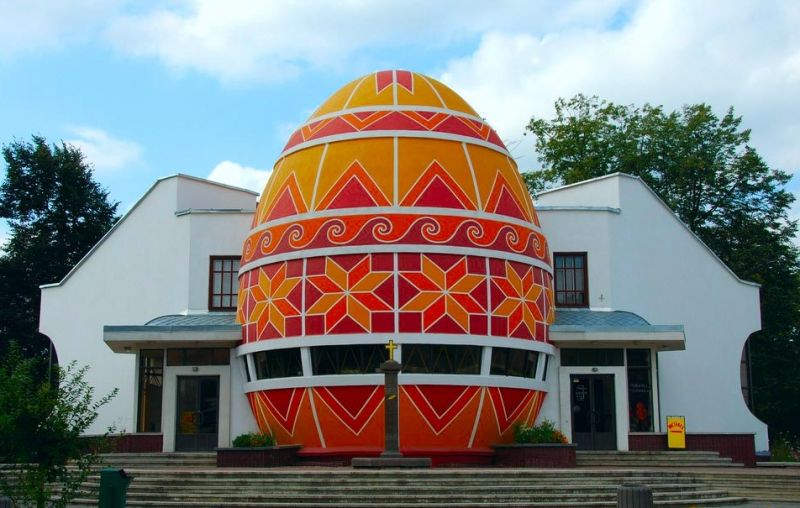
For Easter, Ukrainians make pysanky - Easter eggs decorated in the batik method. It’s a tradition that goes back to ancient times and is found in many Eastern European nations. In Ukraine, it’s so popular that there is even a pysanka museum in the city of Kolomyia. Like many other Ukrainian traditions, pysanka art has pre-Christian roots, representing the rebirth of the earth, and the designs laboriously painted on the fragile egg shell have meanings going back millennia.
With the advent of Christianity, the pysanka came to represent the Resurrection of Christ and rebirth of man and played an important role in Ukrainian religious traditions. Like many other religious customs, the tradition was banished in the Soviet times of state-enforced atheism and crackdown on the Church, with museum collections being destroyed.
However, the practice was carried to North and South America by Ukrainian emigrants, where pysanka schools exist today, and has experienced a rebirth since 1991, with a renewal of interest towards preserving and interpreting the traditional designs.

Pysankas are arguably the most well-known type of Ukrainian Easter egg decorating; some others are krashanky, driapanky, maliovanky, and lystovky. If you've done batik, you will be familiar with the pysanka technique. Here we will show how to make a pysanka in the wax-resist progressively darker dye method.
You will need: an egg, a pencil, vinegar, napkins, a candle, matches, beeswax, a kistka instrument, and dyes. Of all this, a kistka instrument will be the hardest to procure. If you can't buy one, you can make it - it is essentially a small metal funnel for melting beeswax and drawing thin lines with it on a handle. It's best to use special pysanka dyes or synthetic fabric dyes, not edible egg dyes, for the best result.

First, blow out the egg, wipe and let dry. Do this by picking small holes on both sides with a pointed object such as a thick needle. Poke the needle through the egg to puncture the yolk sack, and blow hard into one hole of the egg above a container until it is empty, wash it, wipe, and let dry. This is best done prior to the actual decorating process.
Rub the empty egg with vinegar. Do this well - this removes the grease and dirt which will prevent the dyes from coloring the eggshell properly. It's best you rub your hands with vinegar too to degrease them.
Find a design! Good that there are plenty of them in the internet. Here is the one we selected, from the book "Ukrainian pysanka" by Vira Manko.

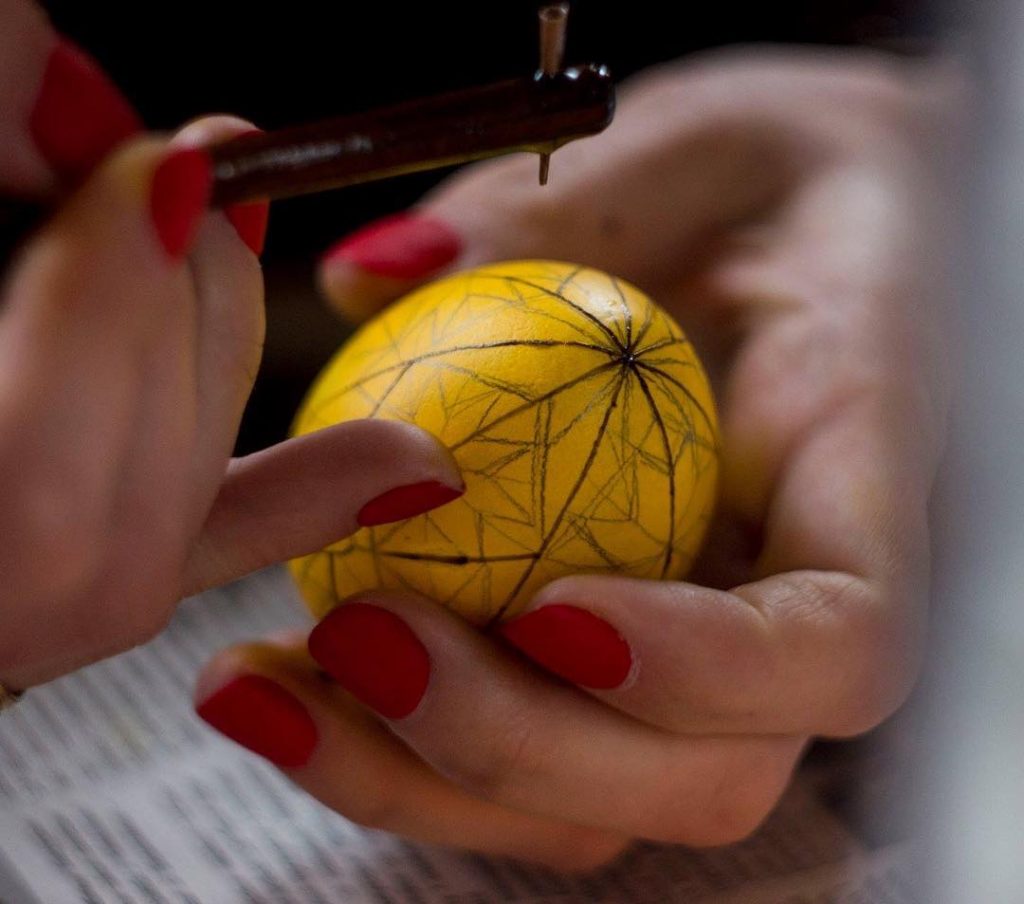
| Sketch your design with a pencil, lightly. If you made mistakes, use vinegar on a napkin, not an eraser which will destroy the egg surface. If the sketch turned out too dark, remove the excessive pencil marks with a napkin moistened with vinegar. Otherwise, they will be visible through the dye. |  |
| Heat up the kistka, an instrument with a small funnel for wax, over a candle, scoop up a little wax, and seal the holes in the egg. This is extremely important, since otherwise you will end up with an egg full of dye!
Cover the lines which should be white with the wax. It will seal them from the dye and keep them white. The wax can come in different colors. Here we are using black wax to make the lines better seen. Paraffin can also be used, but it is better for covering large areas, not fine lines. |
 |
| Dunk the egg in yellow dye until it's saturated, and let dry. A way to keep the eggs down while they are in the dye is to press them down with a plastic glass filled with water. |   |
| Next, cover the areas which should be yellow with the wax. Note that the lines which were covered with wax remained white. |  |
| Dunk the egg in light-red dye and let dry. Now it has white and yellow lines under the wax. |  |
| Cover the parts which should be light-red with wax and dunk in dark red. Here we used paraffin from the candle, which allows covering broad areas better, |  |
| Now cover the red parts of the design with the wax and dunk the egg in black, or darkest color you have. |  |
| Let dry (this is how my egg was drying after being dyed in yellow). |  |
| It's time to remove the wax! Unseal the holes in the egg by melting the wax above the fire of a candle or a stove. This is extremely important - otherwise your egg may explode because of the hot air inside. | |
| Remove the wax by melting it above a stove or candle and wiping the wax off with a napkin. A stove is better. If you're doing it above a candle, keep away from the very tip of the flame, because that is where the soot is. It is rumored you can do this step also by wiping the egg with vegetable oil, but we didn't try that yet. |  |
| Voila! Your beautiful pysanka Easter egg is ready! |  |
Now go out and make some beautiful Ukrainian pysanka Easter eggs!