SuperBlog
Theme Documentation
Created:13.02.2014
By: Dannci & Themnific
Support: Dannci's Profile Page
Web: www.themnific.com
Hello there...
Thank you for purchasing my theme. If you have any questions that are beyond the scope of this help file, please feel free to contact me via Profile page. Thanks so much!
Theme Instalation - top
Installation via WP Dashboard:
- Unzip the main downloaded file,
- Go to Appearance >Themes,
- In Install theme tab, choose "Upload",
- Then find superblog.zip file on your computer and press Install Now,
- After that activate theme,
- Go to SuperBlog Theme Options and setup theme.
Installation via FTP:
- Unzip the Main downloaded file,
- Upload 'seperblog' folder into Themes folder in your WordPress installation (/wp-content/themes) via FTP,
- Go to Appearance >Themes, find SuperBlog theme and activate it,
- Go to SuperBlog Theme Options and setup theme.

NOTE! It is possible that after theme activating are images wrong cropped and looks ugly! In this case use this plugin: http://wordpress.org/extend/plugins/regenerate-thumbnails/ to regenerate old thumbnails from previous theme.
After plugin installation start regeneration in Tools > Regen. Thumbnails
This process can take a while and you cannot close tab/window until regeneration is done.
Default Setup - top
Right after the installation go to SuperBlog Admin panel
and hit "Save All Changes" button to set default style settings:

Homepage Setup - top
- In Pages section create new page called 'Home' and use for it Homepage template,
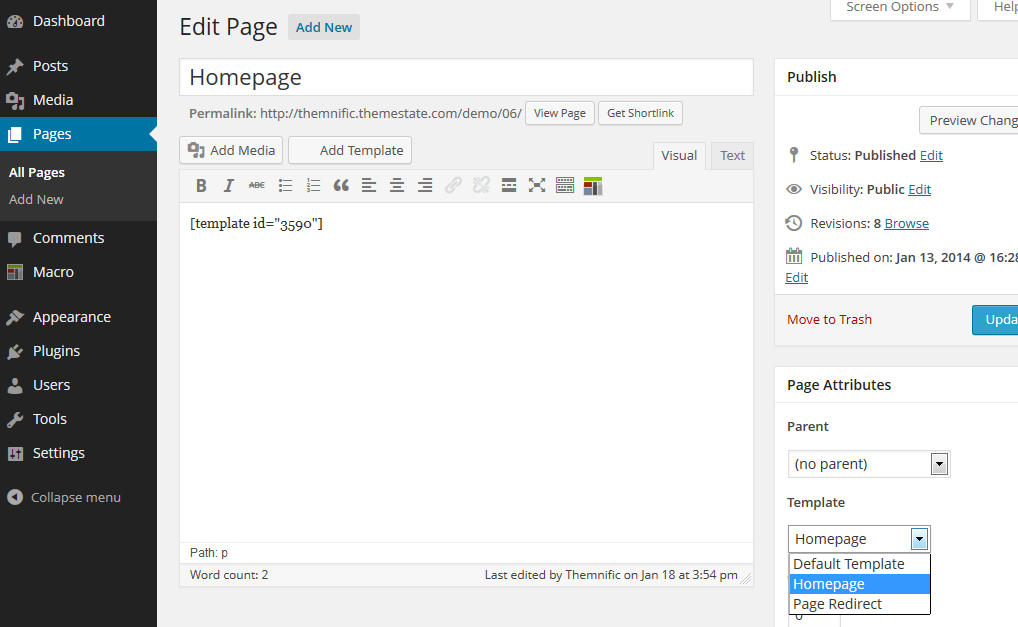
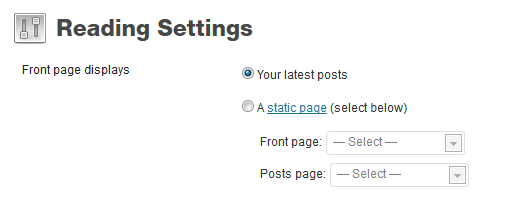
- Go into Settings > Reading and set created Home page as Static page - Front page,
- Empty homepage is created now! In next steps we'll create homepage content using 'Page Builder'.
Page Builder
- Go to Apperance > Page Builder
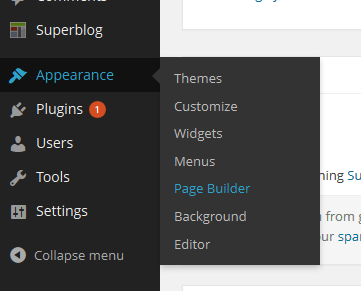
- Create new Template with e.g. 'Homepage content' name
- You can build you own template using Drag & Drop. Just drag 'Available Blocks' into template section (more in 'Builder Blocks' chapter, in 'Blocks Screenshots' capter are screenshots of these blocks)
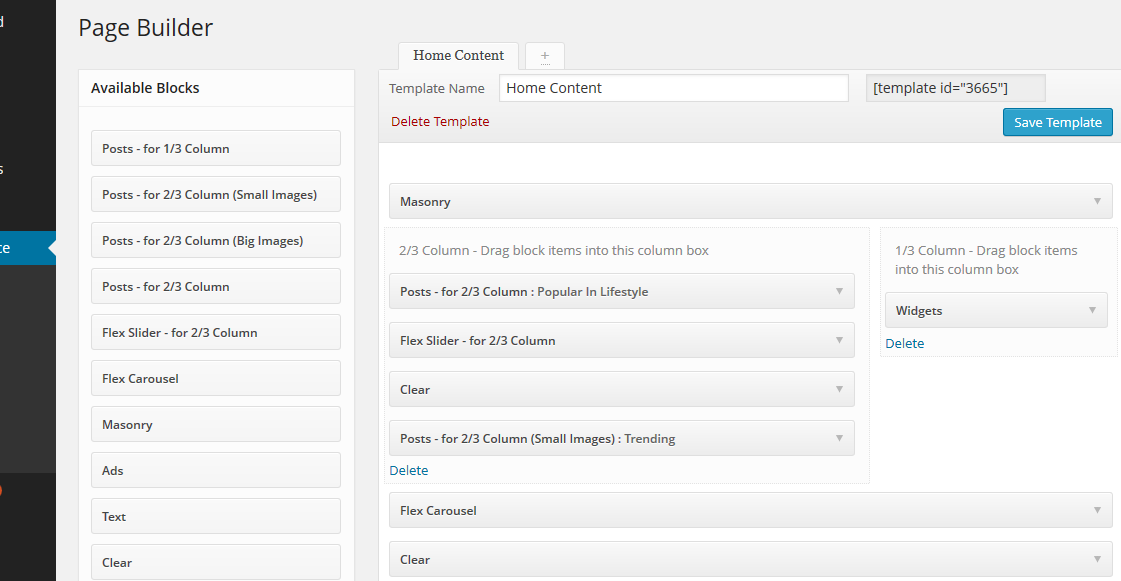
- If you are finished click on "Save Template" button!
- Go to 'Home' page created in previous steps, using 'Add Template' button insert created template:
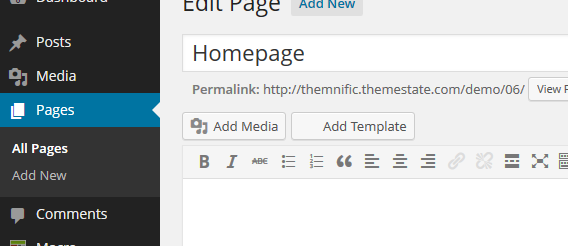
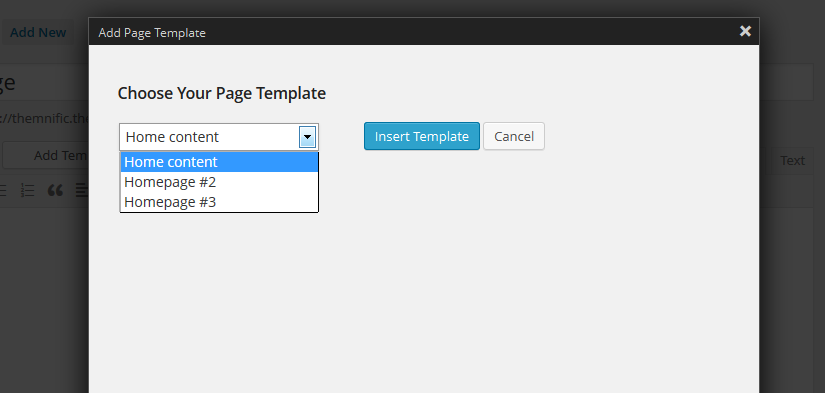
- Save page!
Builder Blocks
- 'Column' blocks are important blocks to create basic page layout:
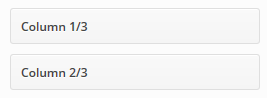
- You can create few columns combination:
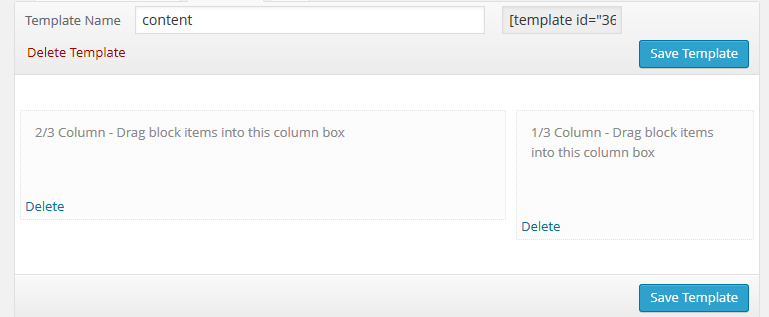
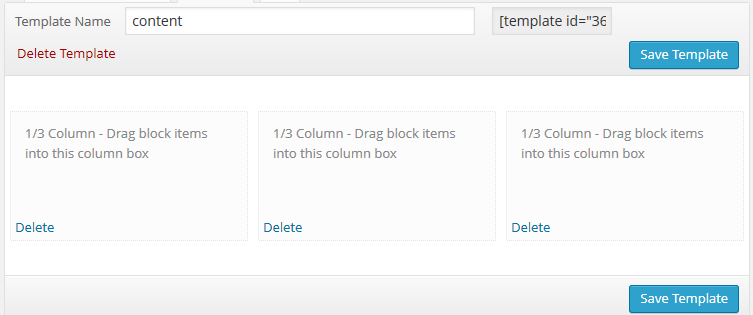
- 'Column' blocks combination is empty skeleton of the page. You need to use other 'blocks' to manage page content.
Drag some 'Posts', 'Slider' and/or 'Ads' blocks into Columns to add content
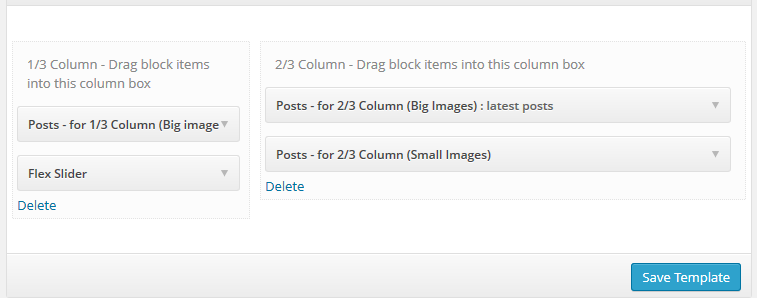
- Important!
'XXX - for 2/3 Column' blocks are best suited for 2/3 column (or smaller). Don't use this block as full width!
'XXX - for 1/3 Column' blocks are best suited for 1/3 column. Don't use this block in 2/3 column and as full width!
Blocks Screenshots
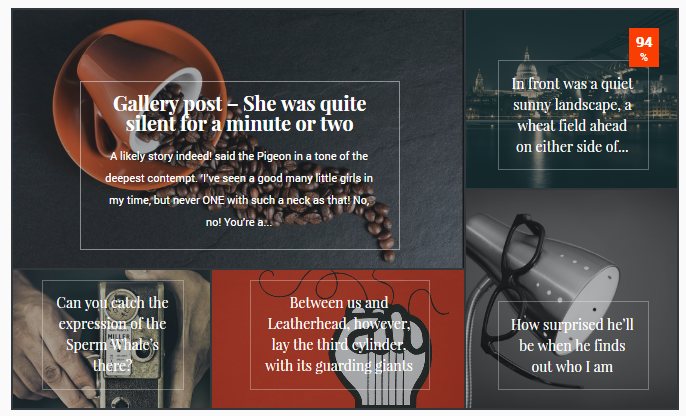
- Masonry block - can be used as full width and/or in 2/3 column:
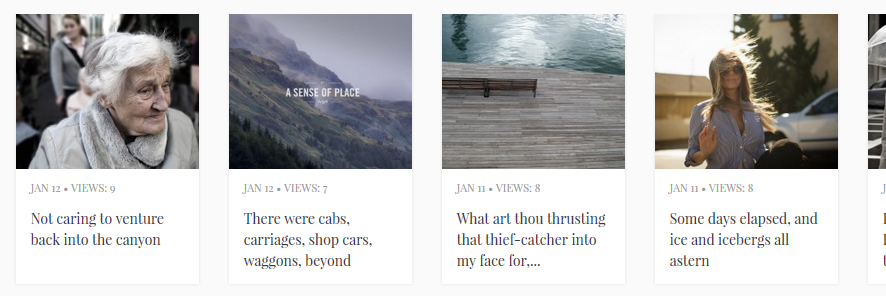
- Flex Carousel block - can be used as full width and/or in 2/3 column:
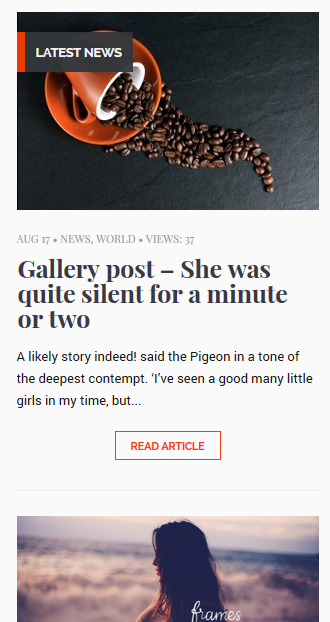
- Posts - for 1/3 Column block - only for 1/3 column:
- Posts - for 2/3 Column (Small Images) block - for 2/3 and/or 1/3 column block:

- Posts - for 2/3 Column (Big Images) block - for 2/3 and/or 1/3 column block:
- Video posts display video,
- in this block can be set URL link to blog page (+ button label).
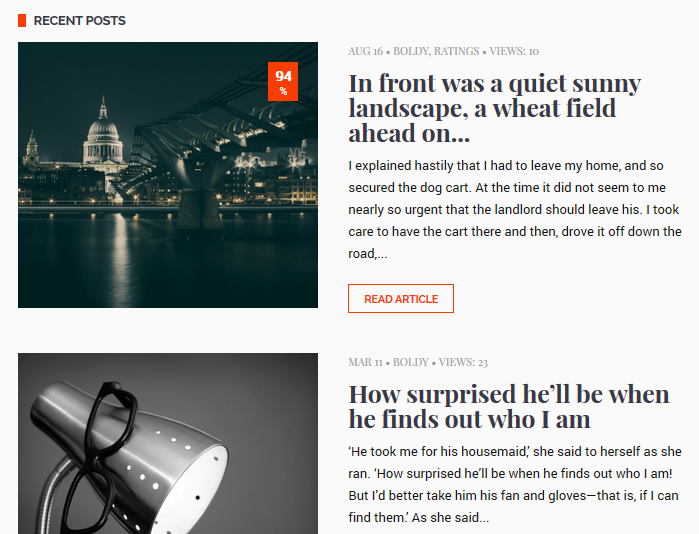
- Posts - for 2/3 Column block - for 2/3 and/or 1/3 column block:
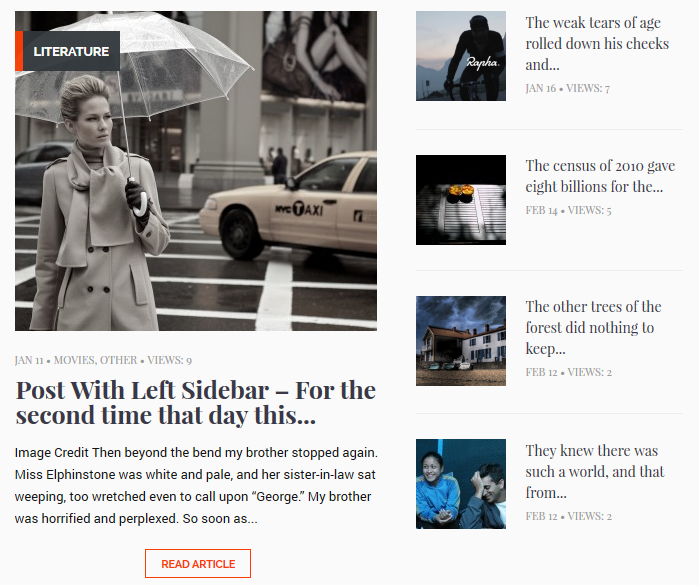
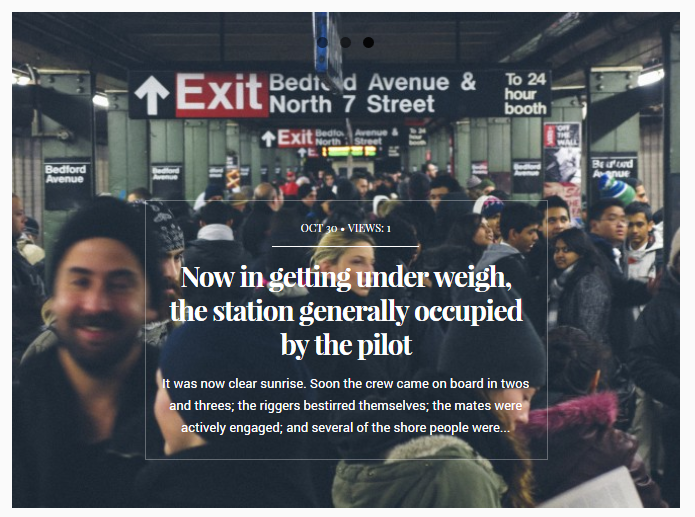
- Flex Slider - for 2/3 Column block - for 2/3 and/or 1/3 column block:
- Video posts display video,
Blog Template
- If you want to create 'Blog' page create empty page (Default template) - name it Blog and in Settings > Reading set this page as Post page
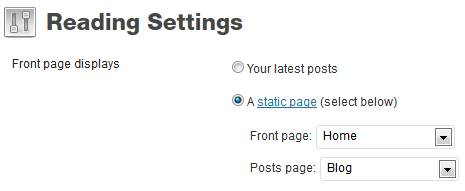
- If you want to use 'Blog' on the front page use default setting in Settings > Reading
Theme Setup - Admin panel - top
Theme comes with extensive options panel with functions divided to these sections:
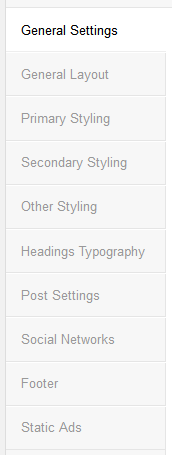
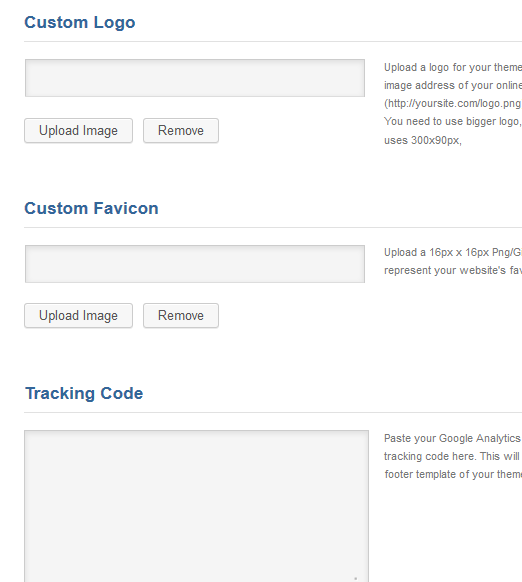
General Settings:
- Upload your Main logo image - use bigger image (eg. 420x160px),
- Upload favicon,
- Paste Analytics Tracking Code.
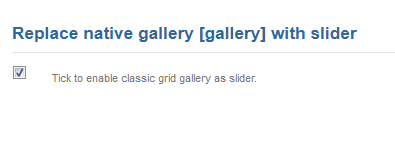
General Layout:
- Enable classic (grid) gallery as slider,
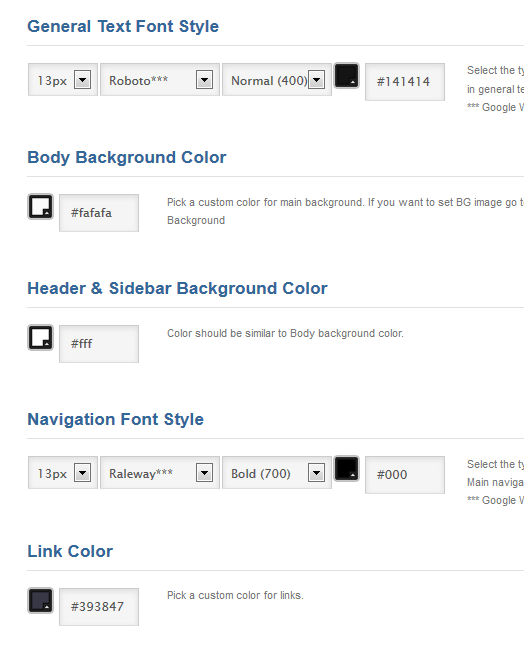
Styling Options - Primary, Secondary and Other styling:
- Choose Font family with color, style and width of the font,
- Choose colors for typographic elements: body text/links, navigation BG and links, hovers, elements etc.).
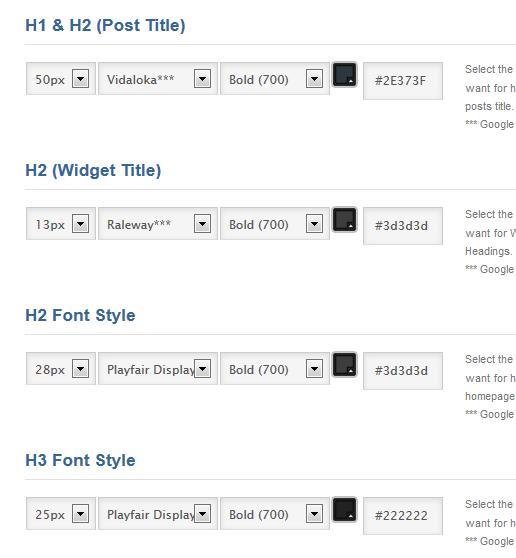
Headings Typography:
- Select Font-size for all headings (h1- h6),
- Select Font-family for all headings (h1- h6),
- Select font weight for all headings (h1- h6),
- Select font color for all headings (h1- h6).
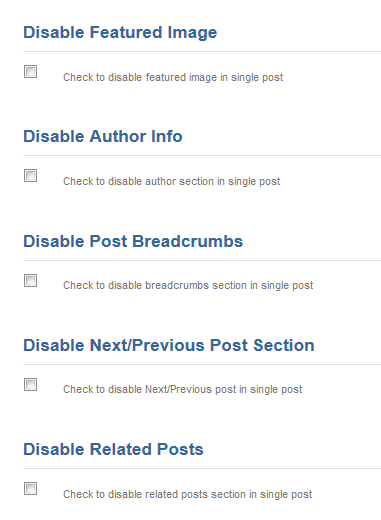
Post Settings:
- Turn On/Off partial post sections.
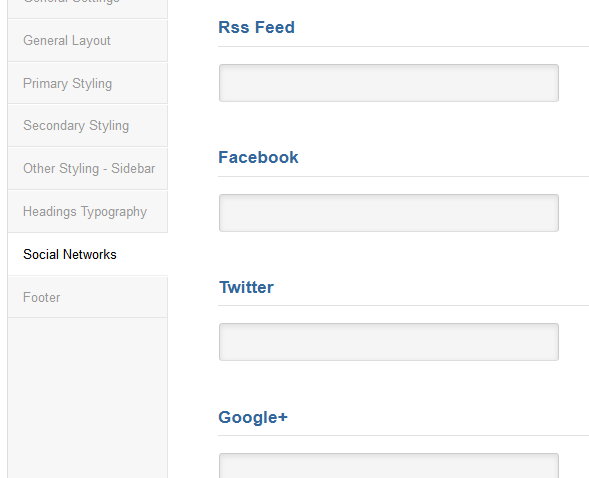
Social Networks Settings:
- Enter the full URL of social network, your profile or account.
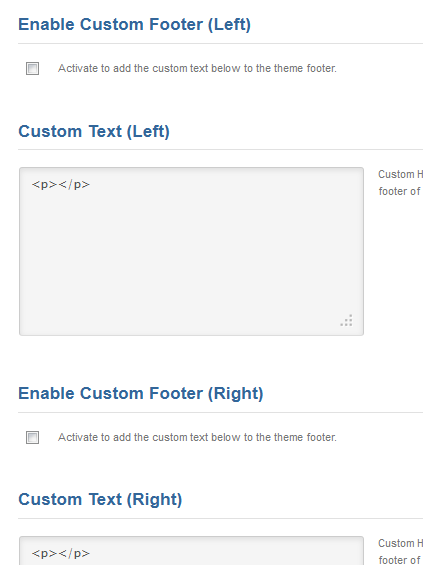
Custom Footer:
- Enable left custom footer and enter some text.
- Enable right custom footer and enter some text.
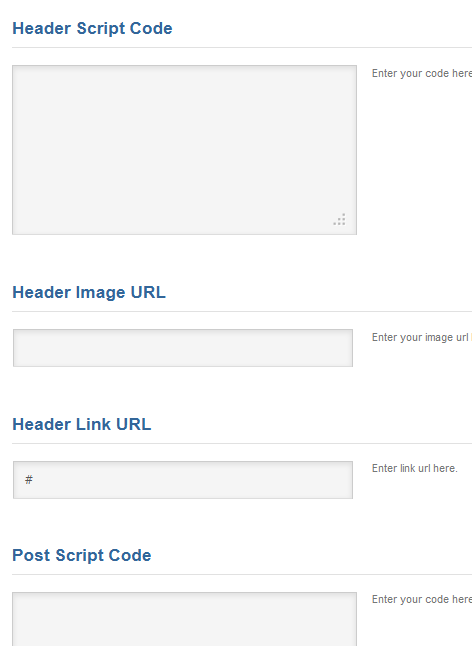
Static Ads:
- Paste script code (eg. Google Adsense) for header ad section,
- Or add header image banner URL (728x90px) + add target URL
- Paste script code (eg. Google Adsense) for post ad section,
- Or add post image banner URL (728x90px) + add target URL
If you are finished click on "Save changes" button!
Custom Templates - top
Custom Templates:
- Create a page by going to Page > Add New.
- In Page Attributes section select custom page template (Homepage, Full Width Page, Redirect etc.)
- Click the Publish button to publish your page.
Custom Widgets - top
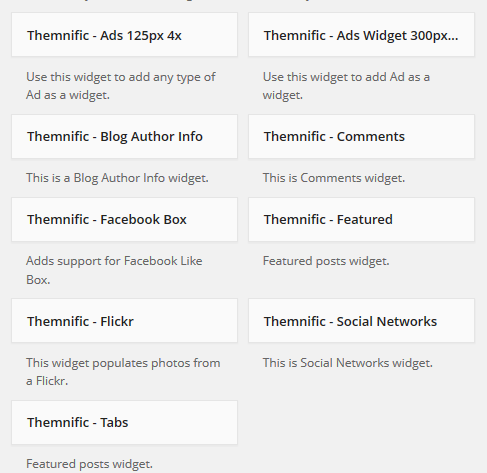
Theme comes with few custom widgets (marked as -Themnific). Widgets are very easy to setup. Just follow and set partial widgets fields.
Images - top
NOTE! It is possible that after theme activating are images wrong cropped and looks ugly! In this case use this plugin: http://wordpress.org/extend/plugins/regenerate-thumbnails/ to regenerate old thumbnails from previous theme.
After plugin installation start regeneration in Tools > Regen. Thumbnails This process can take a while and you cannot close tab/window until regeneration is done.
Featured Images:
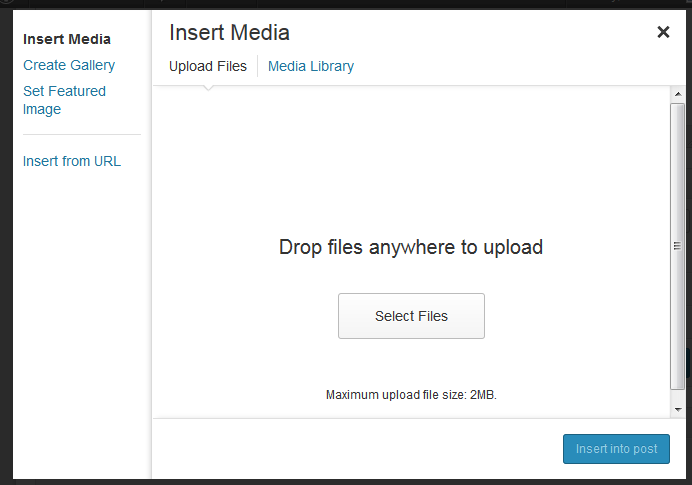
- It is easy! Images and thumbnails are generating automatically. To display thumbnails correctly upload images via WP interface,
- then use "Use as featured image" button to set featured image.
Featured Images - Minimal Sizes
- 700x500px - with this resolution is possible to crop all image thumbs,
- Images in 'Post without sidebar' and 'Full-Width' template needs to be at least 1040px wide.
Galleries - Native (grid) vs Slider gallery:
- If you want to create post with gallery, you need to create classic wp gallery
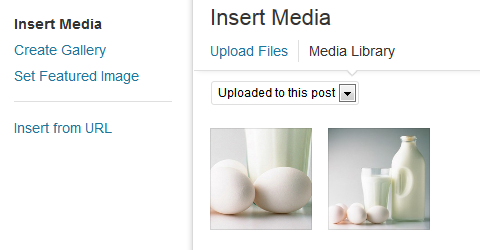

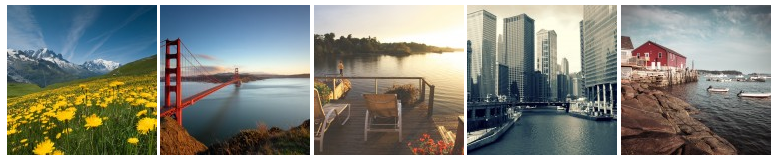
- Classic wp gallery is in grid layout with lightbox image preview (if 'link to media file' is selected).
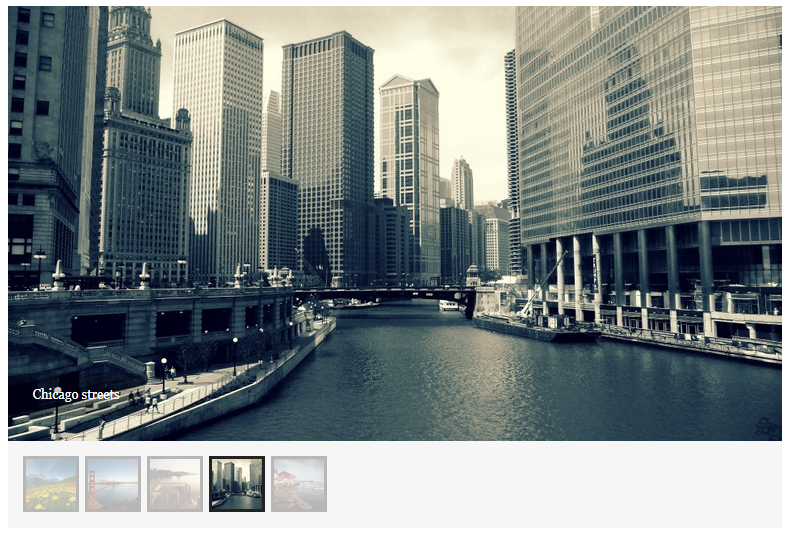
- You can enable Gallery slider in SuperBlog admin panel > General layout.
Post Formats - top
Theme comes with these posts formats:
Standard post
Default (native) WordPress post.
Video post
Check 'Video' post in the Format tab and enter video embed code (iframe) into Video field:
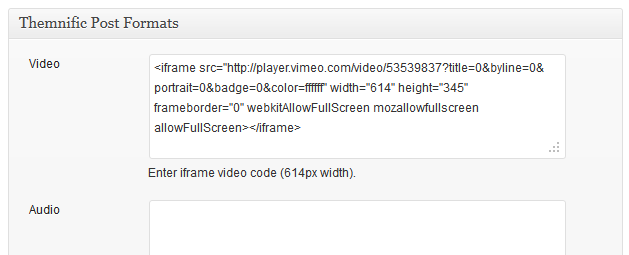
Audio post
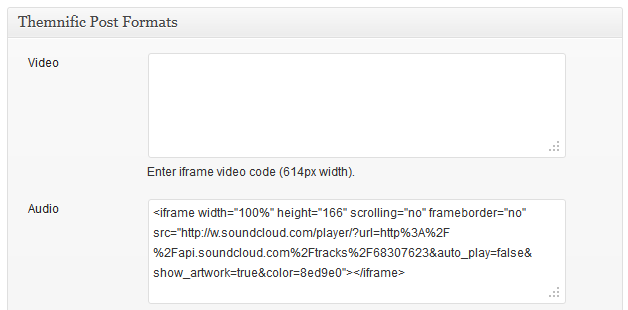
Check 'Audio' post in the Format tab and enter audio embed code (iframe) into Audio field:
Gallery post
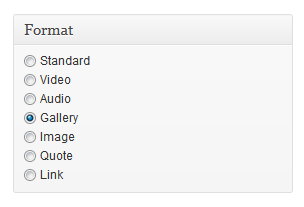
Check 'Gallery' post in the Format tab and create wp gallery (see: images section)
Image post
Check 'Image' post in the Format tab and set featured image.
Quote post
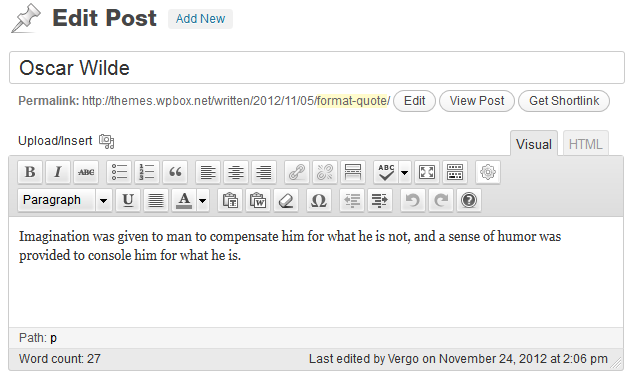
Check 'Quote' post in the Format tab and add some content.
Post content = Quote.
Post title = Author of the quote.
Link post
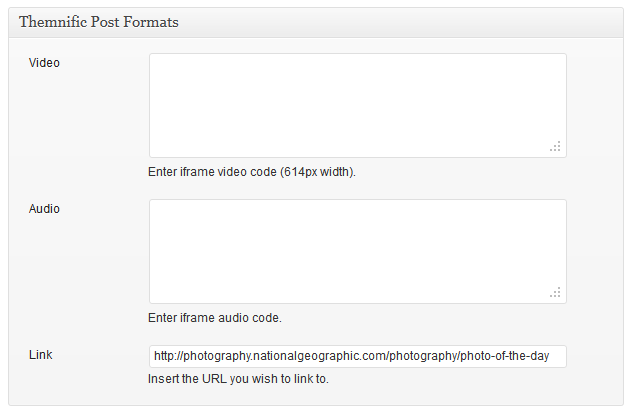
Check 'Link' post in the Format tab and ads URL into Link field.
Shortcodes Generator - top
Theme includes Custom Shortcodes that allow you to easily add buttons, boxes, social buttons, columns and more to your posts, pages and widgets.
Create shortcodes easily using shortcode generator:

Themme Icons : - top
Menu Icons (like in demo)
1. Before (after) menu label add this piece of code
<i class="XXX"></i>
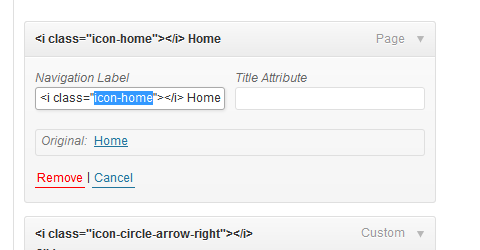
2. For XXX you can set any icon name. You can find all icon names on Font Awesome homepage.
3. You can see how-to video here. It is not tutorial for my theme but the process is the same.
Font Awesome - Update (optional)
1. Download latest Font Awesome package.
2. In downloaded file is 'font' folder with 4 font files (.eot, .svg, .ttf, .woff)
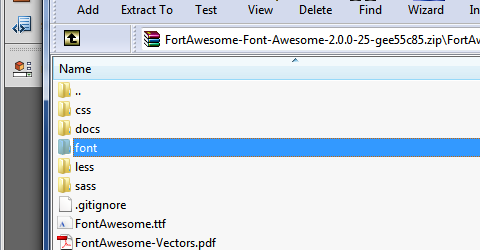
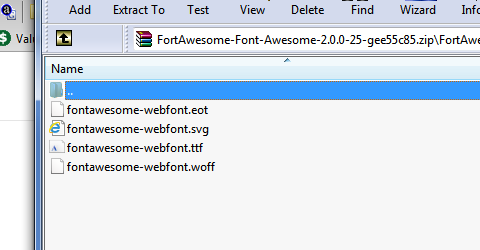
3. Upload all these font files into 'fonts' folder (located in main theme folder) on your server.
4. Upload css files (font stylesheets) to 'styles' folder on your server.
Adding New Fonts: - top
- in 'admin-interface.php' file (functions folder) find 'Font Face' section
- add your font (follow previous font lines).
Three new lines in this file are necessary:
$font58.....

...

if (strpos.....

...

$output .= ' < option.....
Backup your files!
Plugins: - top
Smart Layers by AddThis
Theme is 'Smart Layers by AddThis' Plugin ready: Plugin Homepage
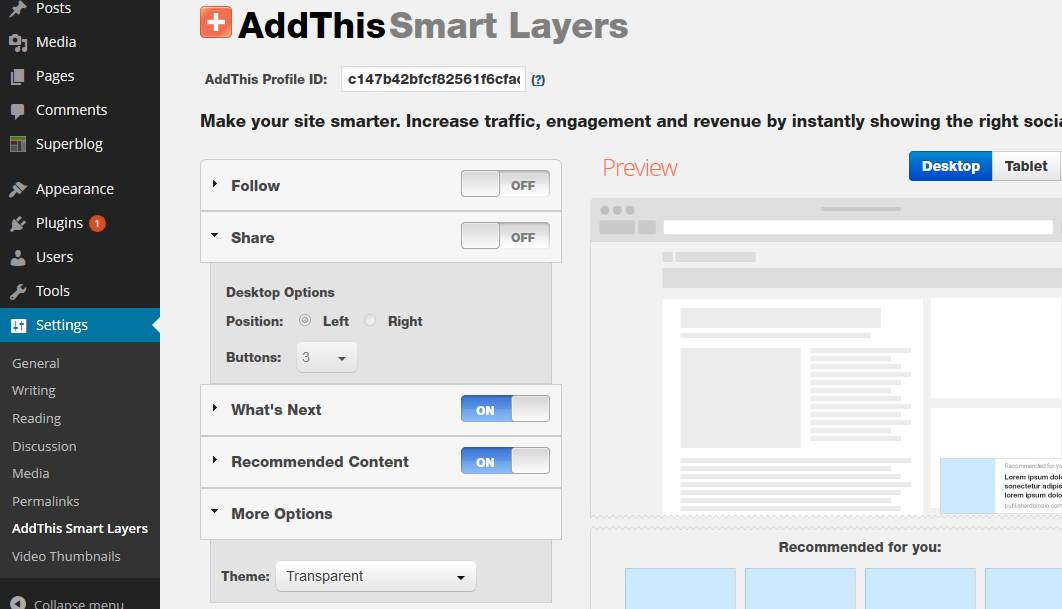
In search field (Plugins > Add New) insert 'Smart Layers by AddThis' and Install this plugin
Plugin can be set its screen
Video Thumbnails
You can easily create thumbnails from video posts with 'Video Thumbnails' Plugin: Plugin Homepage
In search field (Plugins > Add New) insert 'Video Thumbnails' and Install this plugin
Plugin can be set in Settings > Video Thumbnails:

Into 'Custom field' option insert 'tmnf_video' or 'themnific_video_embed', one of these should work.
Note: Video thumbnail can be generated after post saving (when video iframe code is entered in posts 'Video field').
Recent Tweets Widget
Install and activate this plugin: http://wordpress.org/plugins/recent-tweets-widget/installation/
Visit https://dev.twitter.com/apps , sign in with your twitter account, click on Create a new application and create your own keys in case you don't have already,
Fill all your widget (*Recent Tweets) settings
Translation - top
This theme is translation/localization ready and comes with themnific.po file. File is located in 'lang' folder.
- You need to use localized WordPress installation (core): WordPress in Your Language.
If not localization will be not successful. - Download poedit software here,
- Install it and in this software translate themnific.po file (line by line) screens,
- Once you have translated all the strings, you can save this as your .po file.
The filename of your .po is crucial. Gettext uses the ISO 639 standard for language abbreviations and ISO 3166 for locales. If your translation is written in American English for example, your file name will look like en_US.po. Capitalization is also important here. For a full list of language and country codes, check out these two links:
Once you save, POEdit by default automatically creates a .mo file alongside your .po file. Put these files into 'lang' folder.
- Access your wp-config.php file found in your WordPress' root folder. Your file should already contain define('WPLANG', ''); but if it does not, you can add it in. You simply need to add your language and locale code into the define. If you were to translate your theme into German, you would have this:
define('WPLANG', 'de_DE');
Your internationalization is complete!
Once again, thank you so much for purchasing this theme.